Month: October 2025

  • MAKING CHARACTER — 20/10/25


    Today, Mariana taught us about sound design, and how it enhances the atmosphere of an animation while also helping tell the story.

    We learned about different types of sound, including the definitions of:

    • Diegetic: sound from within the story, e.g. dialogue/environment.
    • Non-diegetic sound: sound from outside the story, e.g. music score/voice-over.
    • We also learned about how sound can be produced, including using foley (sound effects created organically and added in post-production).

    I’ve always admired foley artists so much, and found the prospect of applying foley to my animation somewhat unattainable because I thought I would need my own studio for it. I only realised later that I could make foley anywhere, even using household items to create effective sound effects.

    Mariana told us the best way to find free, non-copyrighted sound was to look at freesound.org, a website that I’ve used previously for my project in Foundation.

    After the break, we looked at how to create textures in Photoshop, although this was a topic I wasn’t as interested in since I was just hoping to add colour to Mouse and nothing more to keep it more simple.

    When we got to working on our animations, I asked Mariana for feedback on mine:

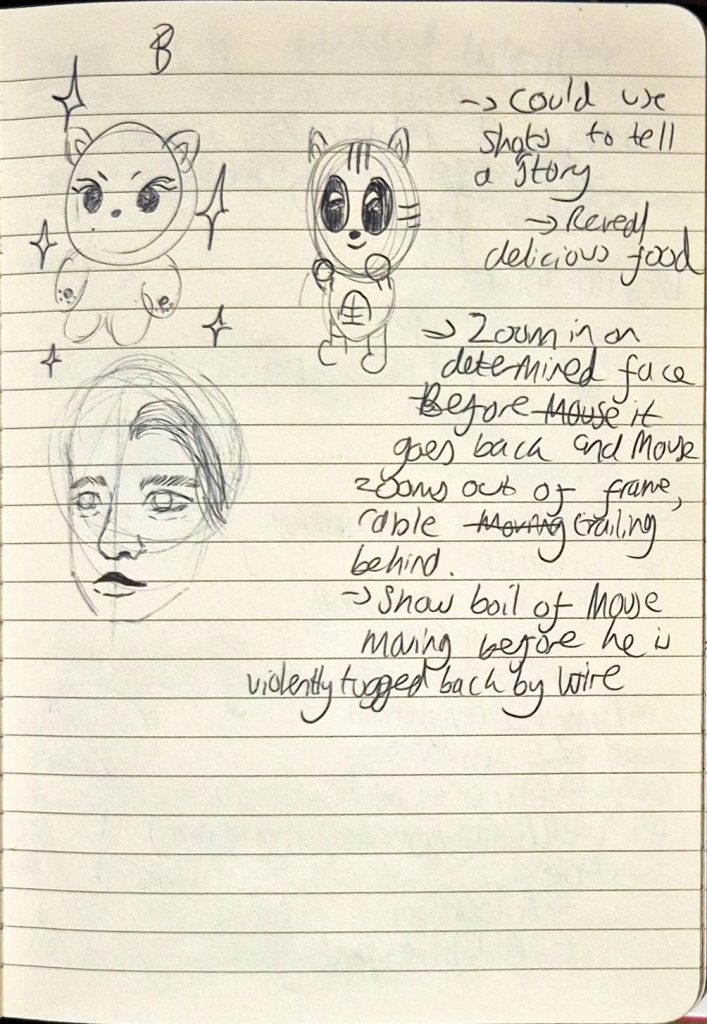
    • Agreed with me that the first part (Mouse looking at the piece of Cheese) should be cut out.
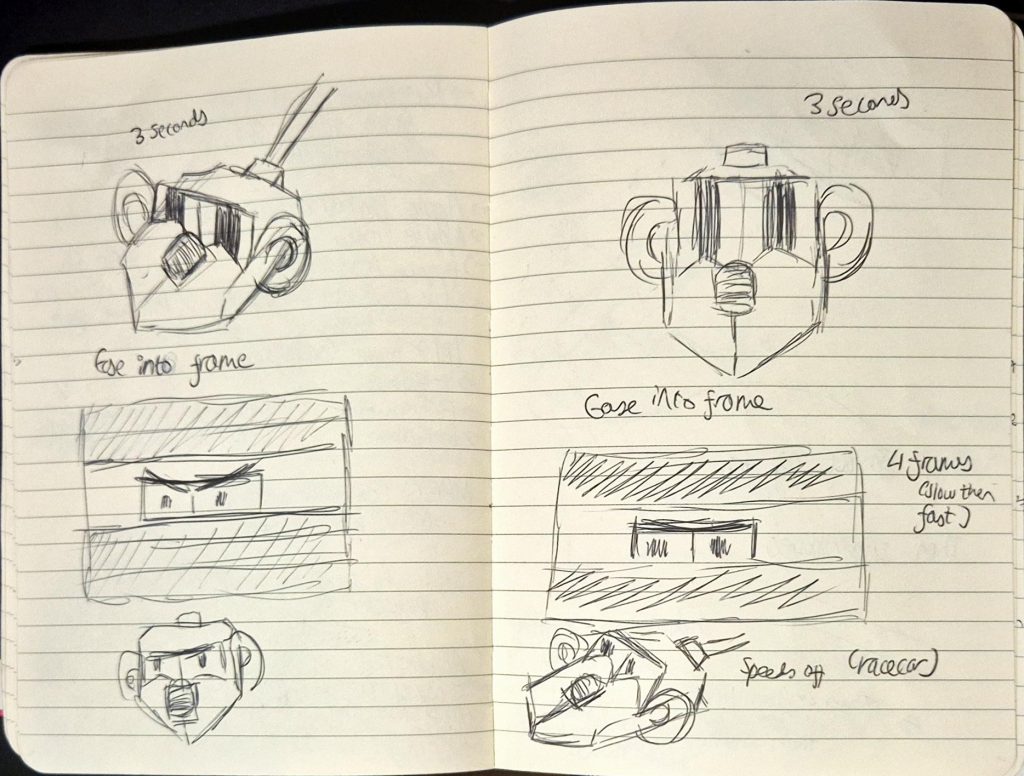
    • He should face the front instead of a 3/4 angle, as usually zooming in scenes tend to happen in this way.
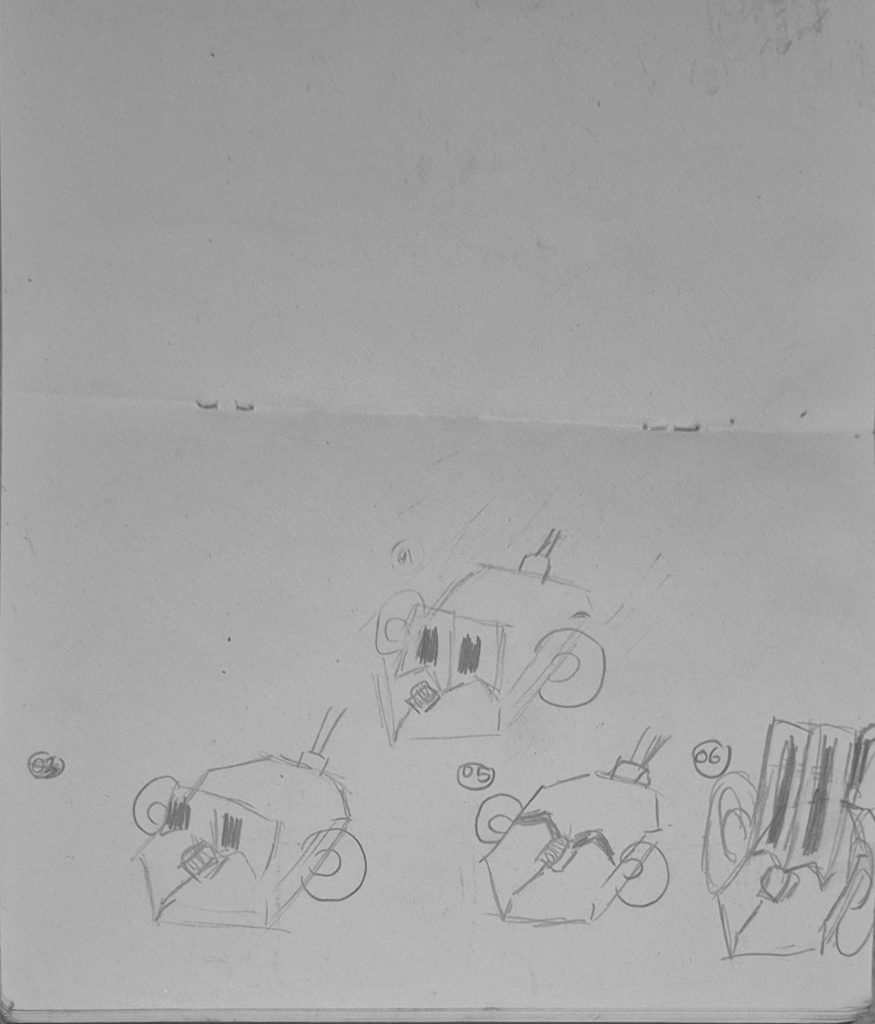
      • Adding on to this, I should ease into the zooming in rather than making it too quick (gradually making it faster).
    • Then we cut to a 3/4 shot of Mouse speeding off (add a racecar sound).
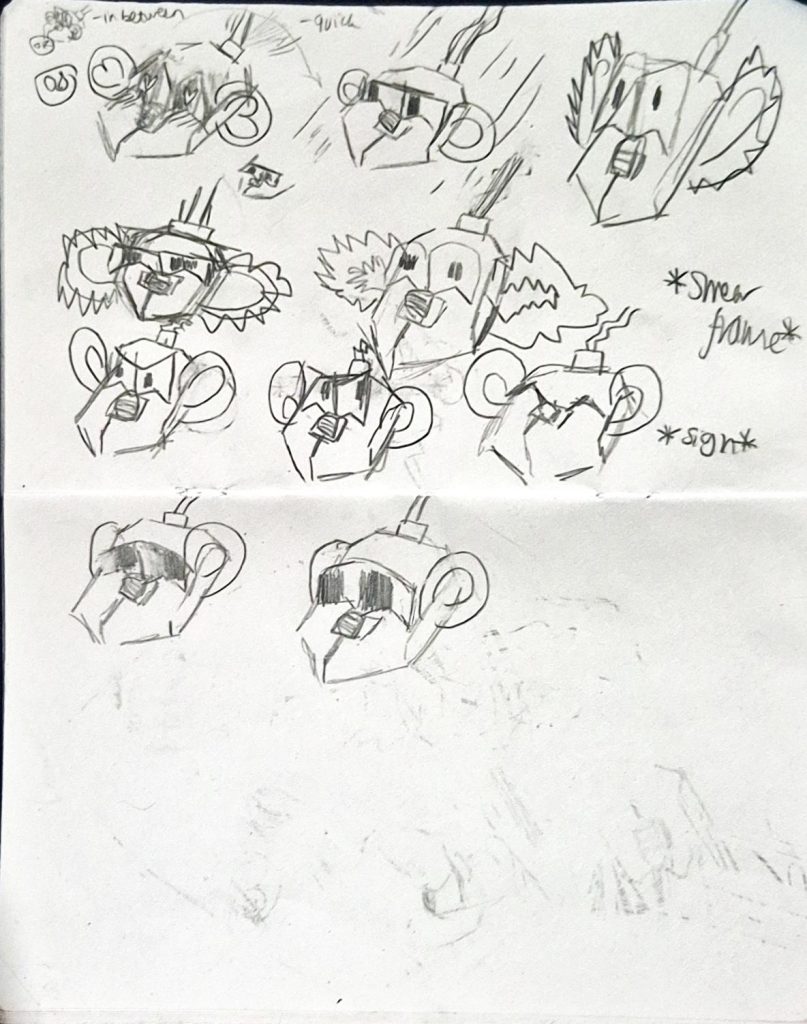
    • Use squash and stretch (like previously) when Mouse is pulled back, except pull him out of the frame (make it look like the impact was super strong).
      • Show his wires in the next shot, then he zooms into frame as he’s recoiling.
    • Continue with Mouse looking shocked then staring angrily at his tail. But when he looks sad, I should exaggerate his expressions more (e.g. droop ear back, make eyes shine by adding highlights and a boil).

    I really appreciated Mariana’s feedback as it was so useful and extremely clear, I only asked her a few questions but otherwise I knew exactly what I had to do to improve my animation.

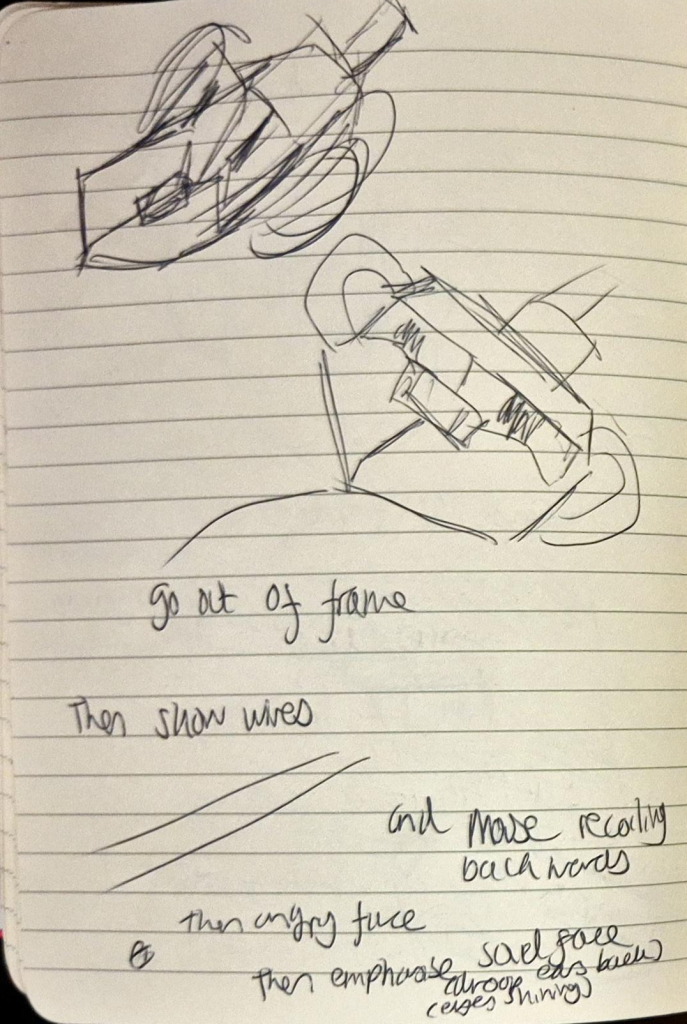
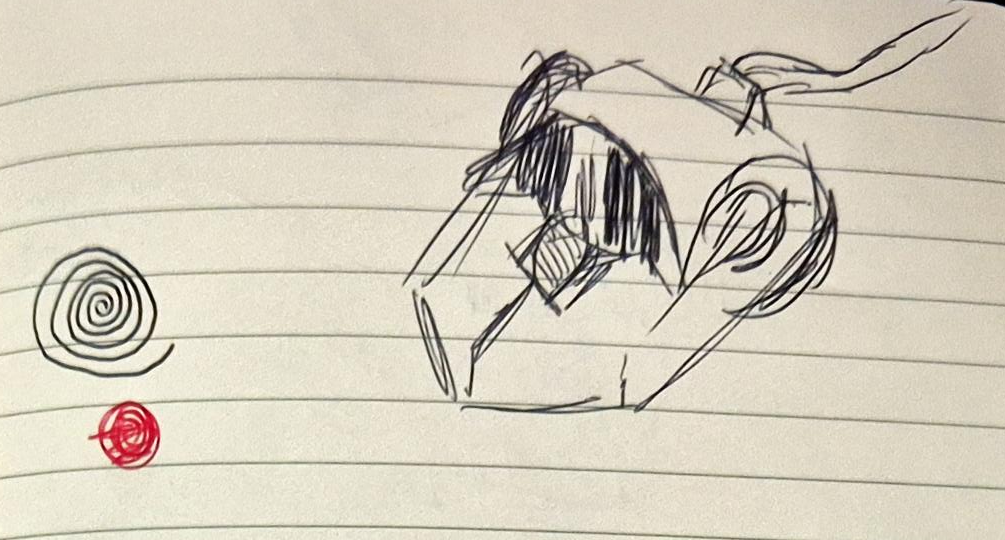
    My doodles from the feedback I got

    Overall, this lesson was extremely informative and productive, and I used the advice to re-do and clean-up my animation on Tuesday. It took around 6 hours of trial and error, and I ended up finishing clean-up at 2AM!

    PLEASE NOTE: There is no sound.


  • MAKING CHARACTER — 17/10/25


    On this day, we were told about timing, and how we should always consider how many frames it would take for a certain action to happen. For instance, it could take 15 frames for a character to blink, or 40 frames for a car to speed down the road.

    We were then given a task to choose between two videos (‘Drugs’ by Adult Swim and ‘cat city’ by vewn) and go through them frame-by-frame to either record each instance of an action taking place or a shot change, and how many frames it took for it to do so (this was for 30-45 minutes). I looked at shot changes in ‘cat city’, and I accidentally looked at the first 8 seconds without realising I didn’t have to, only finally deleting my notes when I looked at the board almost half an hour in and seeing “0:08-0:34”. Thankfully by that time I didn’t go over 34 seconds, as the task was so time consuming I felt relieved knowing I didn’t have to write anything more.

    Notes of every key shot and the frames in ‘cat city’ (0:08-0:34).

    I actually really enjoyed the animation (at least what I could watch of it), and the artstyle was really adorable. However, I do wish we could watch the animation in full (I didn’t get the time to).

    Afterwards, we had to pick an animation of our choice and do the same task. I chose the 2025 intro to SKZcode (a variety show of the K-Pop group Stray Kids) because I find the animation so endearing. Unfortunately, I only had the time to analyse one interaction between the characters Wolfchan and FoxINy (which was 3 seconds despite having to look at 6 seconds of animation), as we had less time.

    Notes of every key shot and the frames in ‘SKZ Code intro over the years (2021-2025)’. Was analysing 2025 (1-1:03).

    We then had to do yet another task, which was for all of us to watch the same video on the board (‘MTV Artist Ident // Dan Woodger’) and discuss the key actions. I really loved the animation, I found it so charming and the colours to be extremely vibrant, and the meteor crash and subsequent pan to the MTV logo was unexpected but hilarious. However, I didn’t really like how we spent so much time on the tasks when we could have instead been working on our animations, especially since we only had less than a week left to complete them.

    When we did get the time to work on animating, I decided to give Photoshop one more go (even though I couldn’t animate during the weekend as I didn’t have the software), but soon became impatient with it and immediately switched to Clip Studio Paint, where I quickly started working on my animation. I had an idea at the time, which was to use animate Mouse spotting cheese from far away and speeding to try and eat it, before being pulled by the wire that tethers him to the laptop. This slightly deviated from my previous idea where Mouse looks at something off screen and his eyes go wide (exaggeration) before forming love hearts, as I felt it would be difficult to time properly within 8 seconds, and I wanted a shot where Mouse would look at the piece of cheese instead, before narrowing his eyes with a zoom in effect (exaggeration pt.2). I went into this plan thinking it would be within the 8 second limit (spoiler alert: I was wrong!).

    My idea

    During the weekend, I continued animating Mouse, and completed a rough animation that detailed Mouse’s arc from trying to move towards the cheese to being pulled back and growing upset over his tail. The only problem was, my animation ended up being over 8 seconds! I realised the first few seconds (Mouse spotting the piece of cheese) could be cut down but I wasn’t sure, and I ultimately left it so that I could show Mariana on Monday. I also exported each frame in case I could import them onto Photoshop and clean-up there.

    PLEASE NOTE: There is no sound.


  • MAKING CHARACTER — 15/10/25


    At the beginning of this lesson, we were told to get into groups of 4, pick 3 principles of animation each and discuss them, using examples from animations as reference. Mine were Arcs, Secondary Action and Timing.

    I wasn’t expecting this activity and it felt quite random, so I was caught a bit off guard. That added to the fact that we had to present each of our respective principles to the group on Google Slides made it increasingly more stressful as I wasn’t able to paste gifs of animations properly, as they would only display as pictures. Also I couldn’t even think of any animations in general and we only had 12 minutes to prepare, plus public speaking isn’t my strongest skill especially under pressure (even if it was only to 3 other people).

    When we eventually did present I didn’t have anything to show, and I fumbled through the explanations shakily. It wasn’t my strongest performance, but I do know I need to work on being able to adapt to unexpected scenarios.

    Afterwards, Mariana talked us through some more tips for animating our characters, including using transitions, thinking about the composition of our scene, and knowing the emotions we would want to portray in our animation.

    Today’s notes

    I did write some notes, as seen above, but realised we covered most of the tips in Breaking Character, so I didn’t end up writing everything down.

    Again, during this lesson I had a hard time using Photoshop because it is software that I am not used to. Copying and pasting my animations were extremely tedious as I had to manually press “paste to position” rather than pressing CTRL + V, and that was a pain to get used to. Plus, I didn’t have Photoshop at home, and was not willing to buy Photoshop just for this animation. Therefore, even if I had an animation to work on (which at that point in time I did not), I couldn’t work on it in my free time. So I began to consider using the software I usually use, which is Clip Studio Paint. But I was worried because we weren’t allowed to use anything other than Photoshop, so I decided it would be better to try using the latter once more before I fully decide to switch to Clip Studio Paint.

    An idea did form in my head around this time, which removed the initial thought of Mouse transforming as I felt it was too simple for a 5-8 second animation. I really wanted to animate exaggerated facial expressions (e.g. eyes widening like Tom’s in Tom and Jerry), therefore I came up with the concept of Mouse seeing a piece of cheese (offscreen), before his eyes widen and he reacts with love hearts in his eyes (possible tail/wire wagging, secondary action). He then composes himself and accelerates before being violently pulled back by his tail (squash + stretch) and staying shocked for a few beats. He looks angrily at his tail, then sighs and looks forlornly in the distance.

    Since we also had to incorporate the 3 character descriptors we chose for our characters (ambitious, grumpy and insecure for Mouse), I wanted the animation to especially reflect his personality:

    1. Ambitious: Mouse wants to eat cheese that’s lying far away from him
    2. Grumpy: Mouse gets angry when pulled away from his goal
    3. Insecure: Mouse feels sad because of what he views as his liability (his tail/wire).

    I ended up drawing Mouse’s expressions in my sketchbook chronologically (somewhat like a storyboard, only without frames for some reason). But I was happy with my idea at that point, and was hoping that Photoshop would be easier to tackle in the next lesson.

    Mouse “storyboard”