During this lesson Mariana taught us the importance of motion tests, which usually are in the pre-production stage. They show how the character’s would appear and move, and help when pitching animation ideas to clients. Creating a motion plan would also help 3D animators as they can see what they need to consider/change before moving into a 3D format.
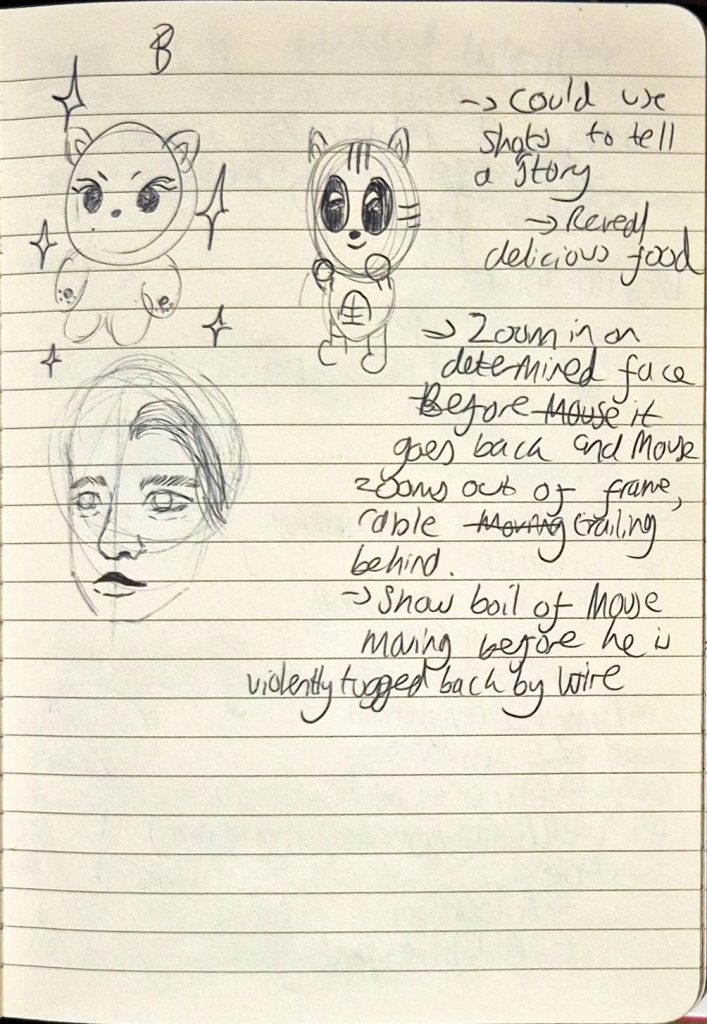
Afterwards, Mariana went around the room to give us individual feedback. I showed her the revised animation, and she gave me more pointers that included:
- Adding more of an ease in with the zooming in shot that would be timed simultaneously (as there were inconsistencies with timing in the existing frame).
image of specific frame
- Showing the frame of Mouse’s neutral face (after being pulled back) for a few more beats before getting shocked.
image of specific frame
- Showing how shock travels through the tail into the body and lastly head of Mouse (ending with his ears). I wasn’t sure how to do this, so I kept this point at the back of my mind.
image of specific frame
- Sound-wise, include:
- Wild West theme? During the zoom in
- Car revving sound effects (just before Mouse accelerates)
- Cartoon SFX
- Possibly my own voice (I could voice Mouse?)
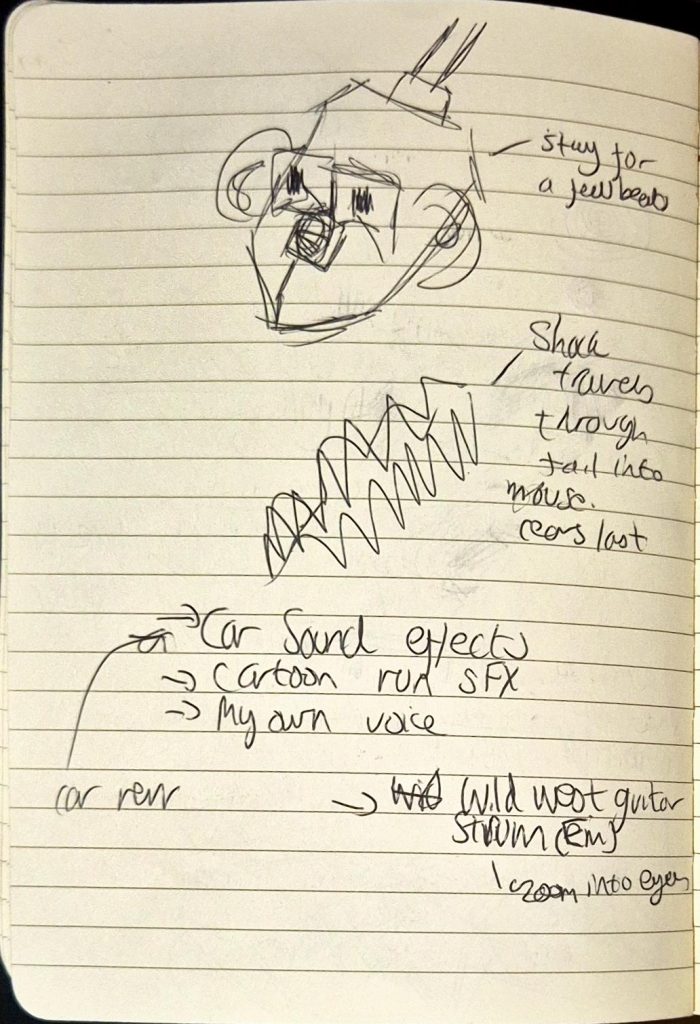
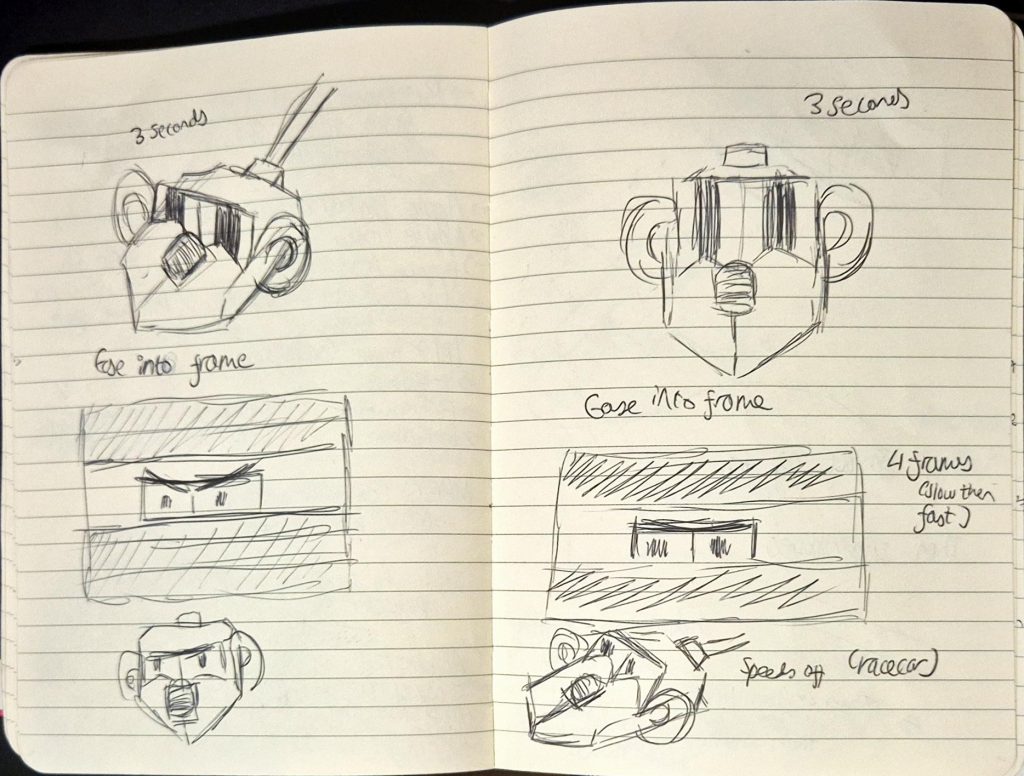
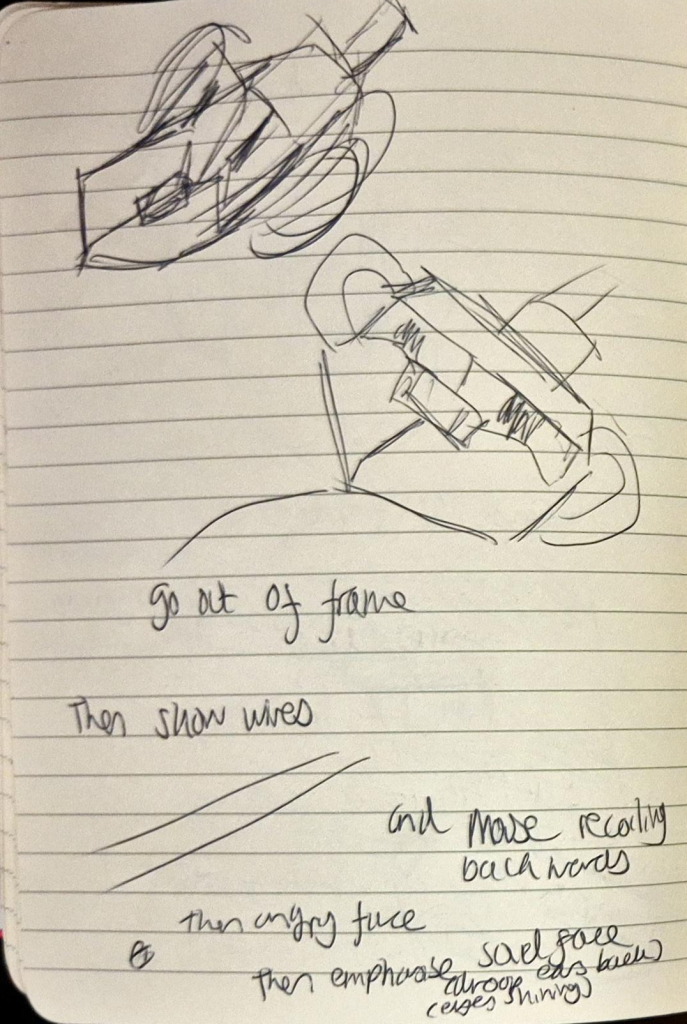
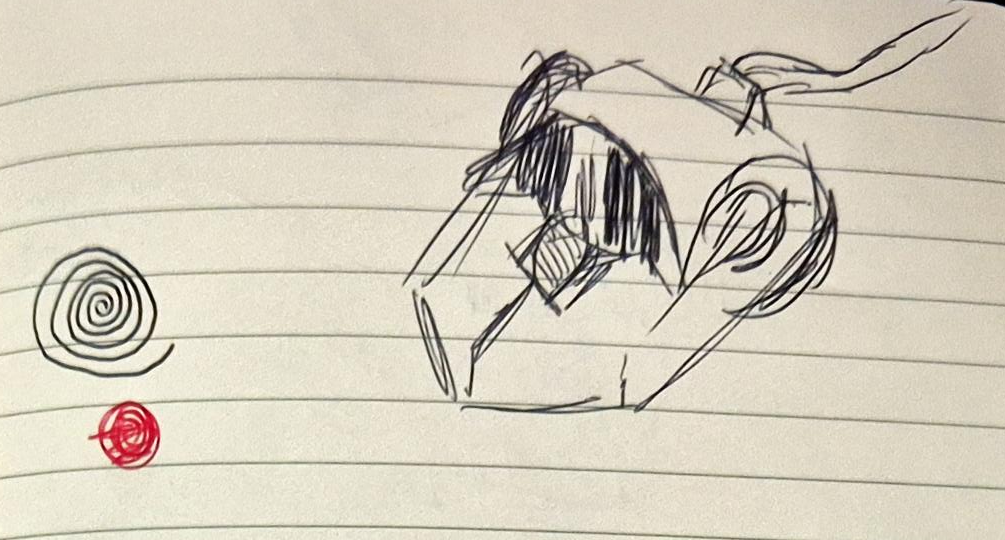
My doodles from the feedback I got
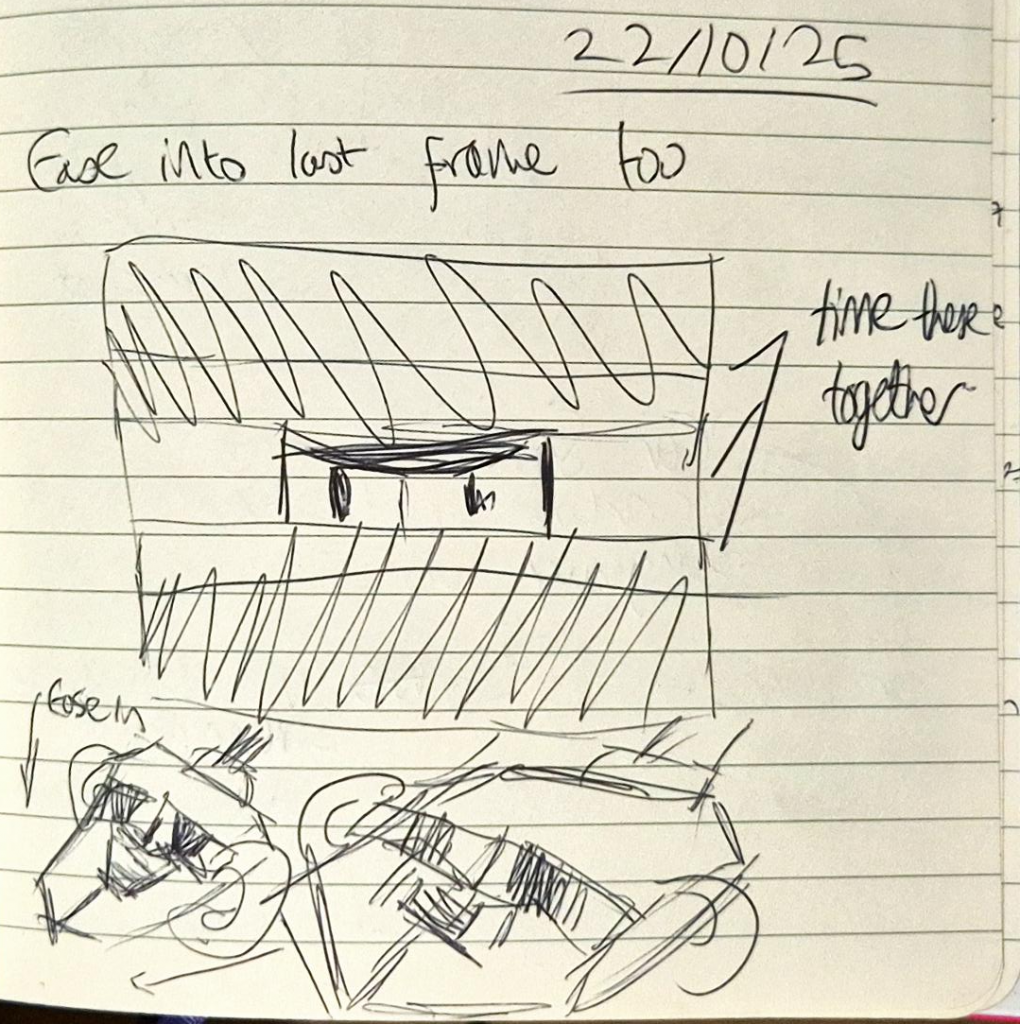
Once Mariana left, I quickly redrew the frames, keeping her feedback in mind. I ended up finishing the cleaned-up animation by the end of the lesson, which was far quicker than I expected. Unfortunately, when making the lineart I forgot to add the keyframe so that Mouse zoomed in while the black margins got narrower. So annoyingly the video below doesn’t reflect the actual final product (lineart wise).
PLEASE NOTE: There is no sound.
When I got home, I researched sound effects on freesound.org, but I wanted to include sound effects reminiscent of old cartoons. I couldn’t find them on freesound, so I ended up using copyright free sound effects from YouTube. It took a while to find and compile each effect on CSP itself (I stayed up till 1 editing everything together), but it was worth it.
Sounds I used (chronologically):
- Blinking SFX (YouTube):
- Woosh sound effect that I eventually slowed down (YouTube):
- Car Revving (freesound):
- Character speeding off (YouTube):
- Car engine (freesound):
- Yoink (YouTube):
- Squeak (YouTube):
- Recoil (YouTube):
- Electric Shock 1 (freesound):
- Electric Shock 2 (freesound):
- Violin (YouTube):
PLEASE NOTE: Increasing the volume is advised for a better viewing experience.
On Thursday, I added colour to each frame before submitting it on Onedrive. I kept the pencil texture of the outline because I liked how sketch-like it looked, and liked how it contrasted with the solid colours. I ended up really enjoying the outcome, albeit I felt the sound seemed slightly rushed (though this could be attributed to the fact that it’s only an 8 second animation).