Category: Making Character

  • MAKING CHARACTER — 24/10/25


    The final day had arrived, the day where we’d finally get feedback for our work! I was extremely nervous but also very excited to see what everyone else had done.

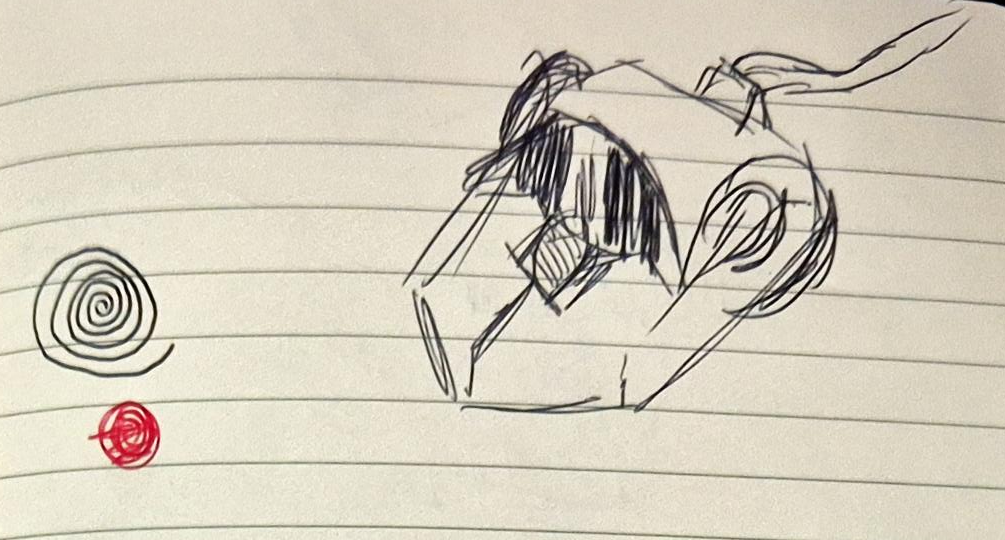
    A recap of my animation. PLEASE NOTE: Increasing the volume is advised for a better viewing experience.

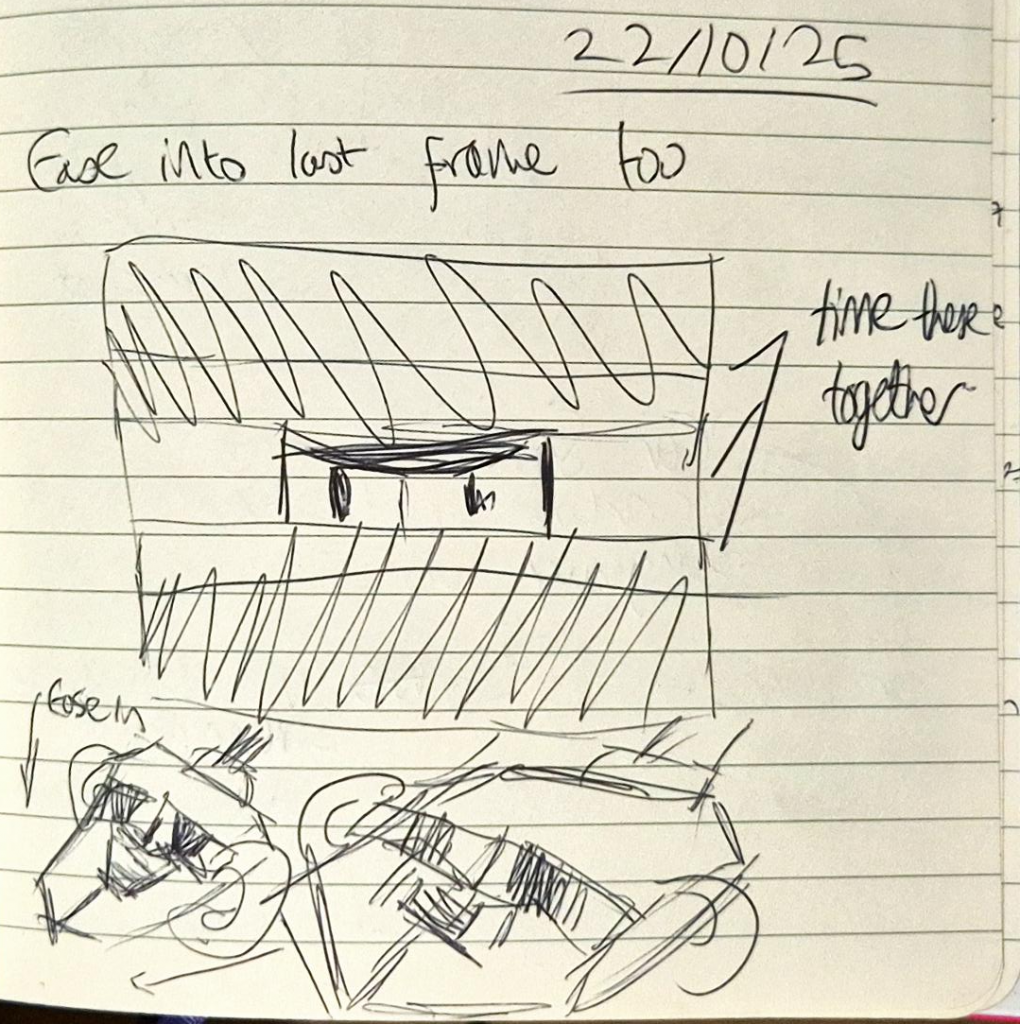
    Before I was given feedback, I wrote personal targets as a way to both anticipate what I could be given (a mechanism to calm my nerves), and generally so that I would know what to do next time. My targets consisted of:

    • Work on timing
    • Work on the placement of sound effects; don’t add too much so that it doesn’t become super overwhelming.

    The feedback that I ended up getting was overwhelmingly positive, and I wasn’t expecting it at all! This included:

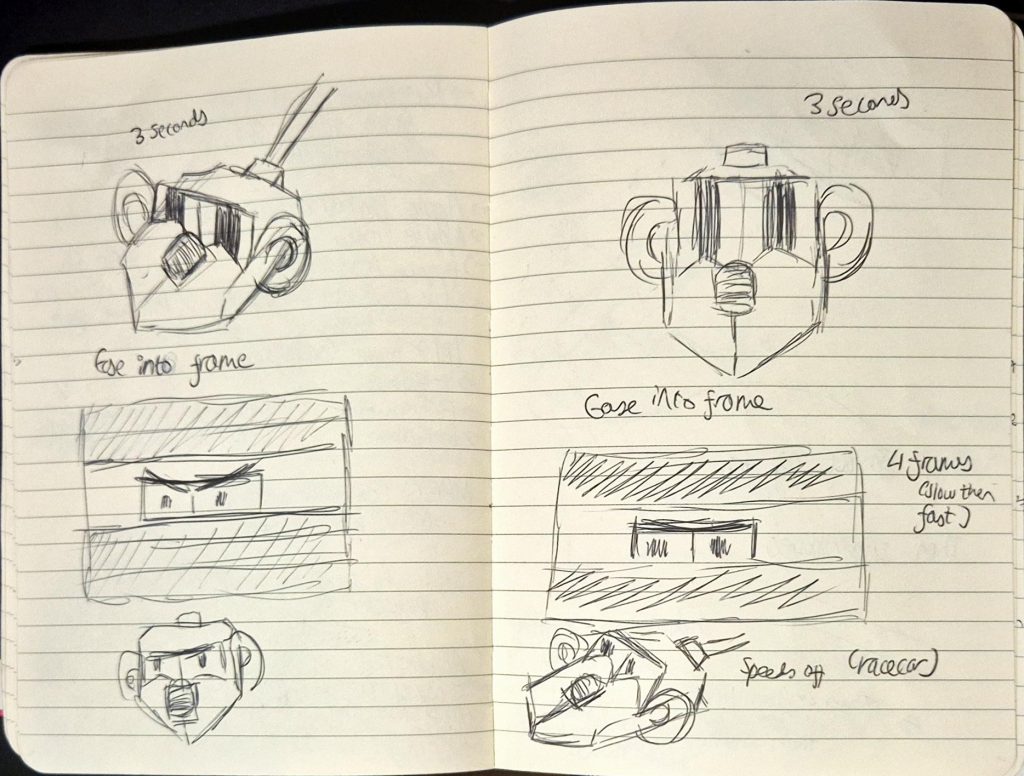
    • Key poses + actions are very strong
    • Easy to tell that he dislikes being a wired mouse (Grumpy)
    • Squash + stretch is very effective (shows his rigidity)
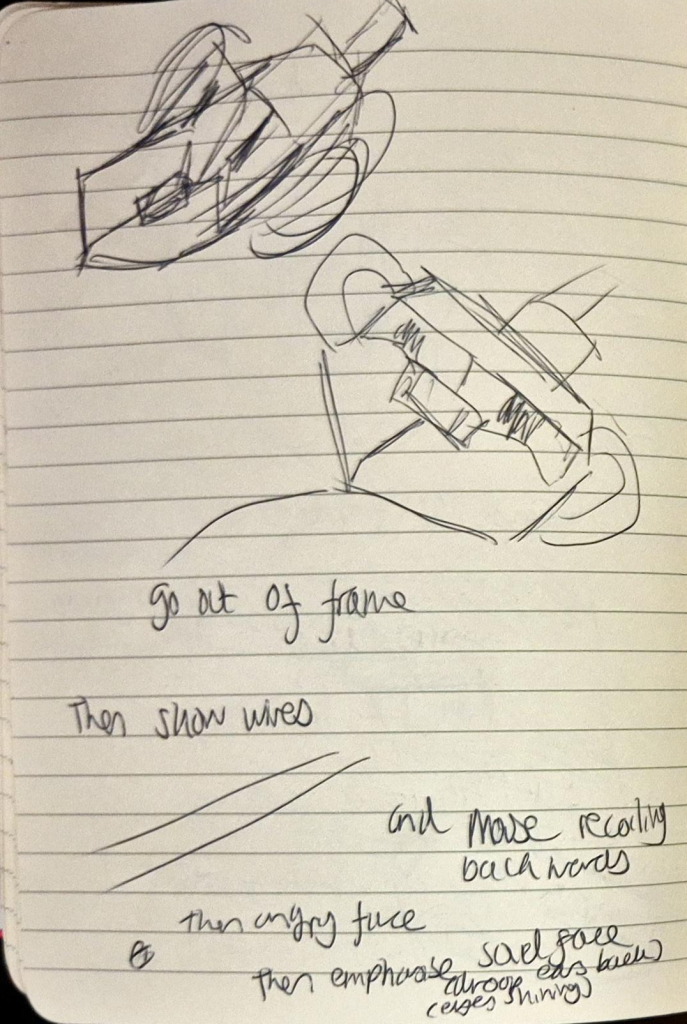
    • Sounds support actions very well, they don’t detract anything from the animation.

    I also got some tips from Mariana on how to improve my animation:

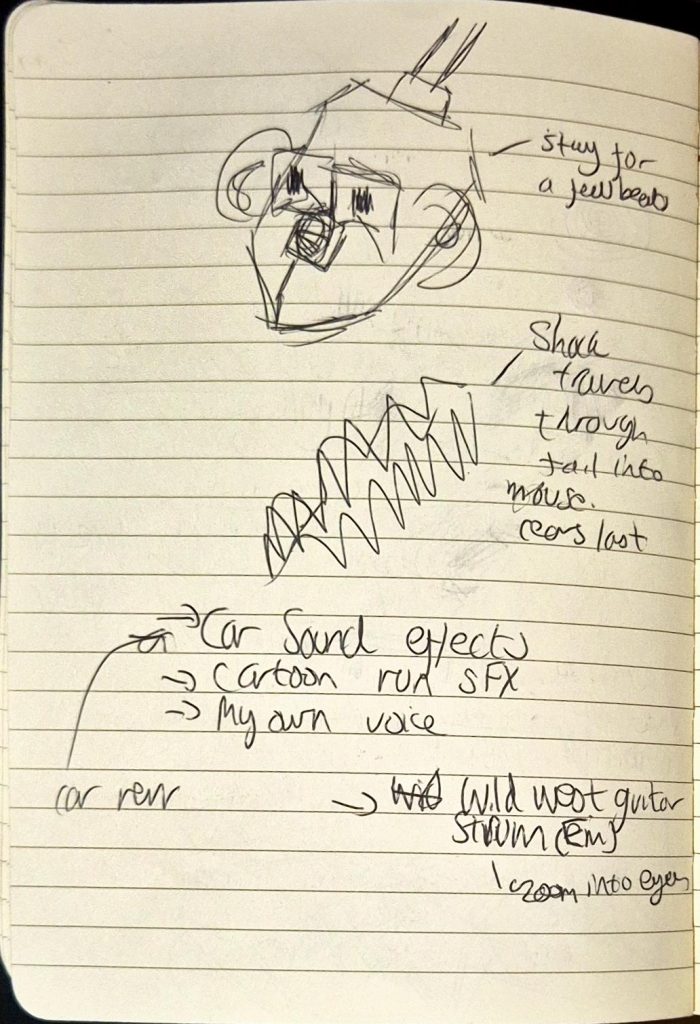
    • Move sound effect of car revving to after the zoom in, when he starts moving (to be honest, I added it before intentionally mostly because I know that in cars the ignition is switched on while it’s stationary, but I definitely understood why Mariana pointed it out)
    • Change format to 1920 x 1080 (I completely forgot to change it, I usually work on a custom format (2009 x 1467… not for any specific reason though) so it slipped my mind!)
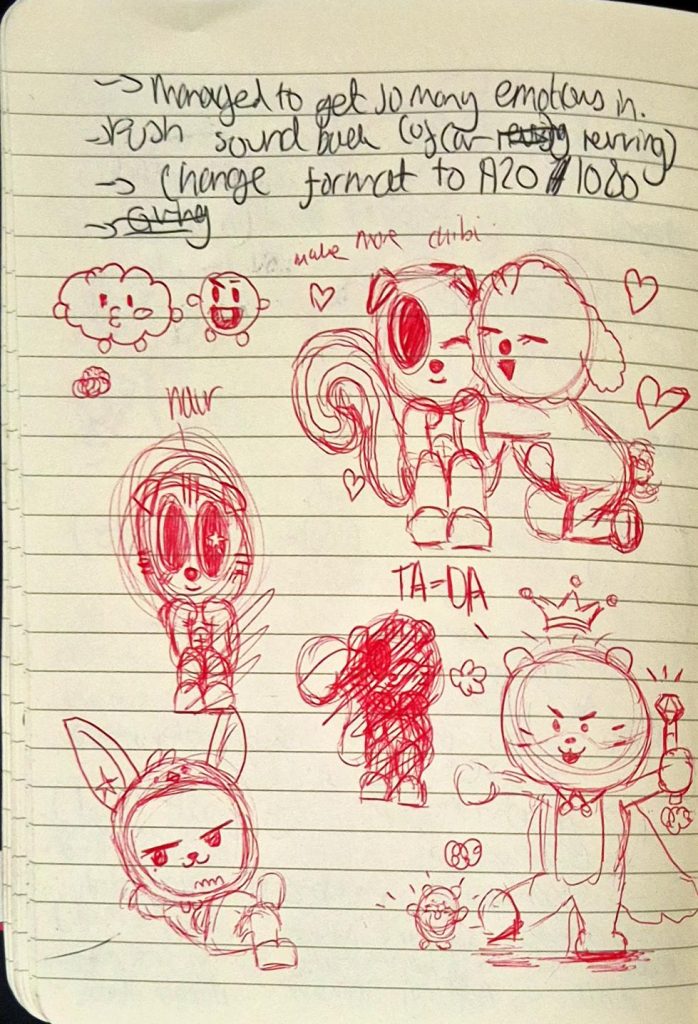
    Feedback notes

    I’m really proud of my work this rotation as I was able to push myself and create an animation of an original cartoon character, something I never thought I could ever do considering my background in realism.


  • MAKING CHARACTER — 22/10/25


    During this lesson Mariana taught us the importance of motion tests, which usually are in the pre-production stage. They show how the character’s would appear and move, and help when pitching animation ideas to clients. Creating a motion plan would also help 3D animators as they can see what they need to consider/change before moving into a 3D format.

    Afterwards, Mariana went around the room to give us individual feedback. I showed her the revised animation, and she gave me more pointers that included:

    • Adding more of an ease in with the zooming in shot that would be timed simultaneously (as there were inconsistencies with timing in the existing frame).

    image of specific frame

    • Showing the frame of Mouse’s neutral face (after being pulled back) for a few more beats before getting shocked.

    image of specific frame

    • Showing how shock travels through the tail into the body and lastly head of Mouse (ending with his ears). I wasn’t sure how to do this, so I kept this point at the back of my mind.

    image of specific frame

    • Sound-wise, include:
      • Wild West theme? During the zoom in
      • Car revving sound effects (just before Mouse accelerates)
      • Cartoon SFX
      • Possibly my own voice (I could voice Mouse?)

    My doodles from the feedback I got

    Once Mariana left, I quickly redrew the frames, keeping her feedback in mind. I ended up finishing the cleaned-up animation by the end of the lesson, which was far quicker than I expected. Unfortunately, when making the lineart I forgot to add the keyframe so that Mouse zoomed in while the black margins got narrower. So annoyingly the video below doesn’t reflect the actual final product (lineart wise).

    PLEASE NOTE: There is no sound.

    When I got home, I researched sound effects on freesound.org, but I wanted to include sound effects reminiscent of old cartoons. I couldn’t find them on freesound, so I ended up using copyright free sound effects from YouTube. It took a while to find and compile each effect on CSP itself (I stayed up till 1 editing everything together), but it was worth it.

    Sounds I used (chronologically):

    • Blinking SFX (YouTube):
    • Woosh sound effect that I eventually slowed down (YouTube):
    • Car Revving (freesound):
    • Character speeding off (YouTube):
    • Car engine (freesound):
    • Yoink (YouTube):
    • Squeak (YouTube):
    • Recoil (YouTube):
    • Electric Shock 1 (freesound):
    • Electric Shock 2 (freesound):
    • Violin (YouTube):

    PLEASE NOTE: Increasing the volume is advised for a better viewing experience.

    On Thursday, I added colour to each frame before submitting it on Onedrive. I kept the pencil texture of the outline because I liked how sketch-like it looked, and liked how it contrasted with the solid colours. I ended up really enjoying the outcome, albeit I felt the sound seemed slightly rushed (though this could be attributed to the fact that it’s only an 8 second animation).


  • MAKING CHARACTER — 20/10/25


    Today, Mariana taught us about sound design, and how it enhances the atmosphere of an animation while also helping tell the story.

    We learned about different types of sound, including the definitions of:

    • Diegetic: sound from within the story, e.g. dialogue/environment.
    • Non-diegetic sound: sound from outside the story, e.g. music score/voice-over.
    • We also learned about how sound can be produced, including using foley (sound effects created organically and added in post-production).

    I’ve always admired foley artists so much, and found the prospect of applying foley to my animation somewhat unattainable because I thought I would need my own studio for it. I only realised later that I could make foley anywhere, even using household items to create effective sound effects.

    Mariana told us the best way to find free, non-copyrighted sound was to look at freesound.org, a website that I’ve used previously for my project in Foundation.

    After the break, we looked at how to create textures in Photoshop, although this was a topic I wasn’t as interested in since I was just hoping to add colour to Mouse and nothing more to keep it more simple.

    When we got to working on our animations, I asked Mariana for feedback on mine:

    • Agreed with me that the first part (Mouse looking at the piece of Cheese) should be cut out.
    • He should face the front instead of a 3/4 angle, as usually zooming in scenes tend to happen in this way.
      • Adding on to this, I should ease into the zooming in rather than making it too quick (gradually making it faster).
    • Then we cut to a 3/4 shot of Mouse speeding off (add a racecar sound).
    • Use squash and stretch (like previously) when Mouse is pulled back, except pull him out of the frame (make it look like the impact was super strong).
      • Show his wires in the next shot, then he zooms into frame as he’s recoiling.
    • Continue with Mouse looking shocked then staring angrily at his tail. But when he looks sad, I should exaggerate his expressions more (e.g. droop ear back, make eyes shine by adding highlights and a boil).

    I really appreciated Mariana’s feedback as it was so useful and extremely clear, I only asked her a few questions but otherwise I knew exactly what I had to do to improve my animation.

    My doodles from the feedback I got

    Overall, this lesson was extremely informative and productive, and I used the advice to re-do and clean-up my animation on Tuesday. It took around 6 hours of trial and error, and I ended up finishing clean-up at 2AM!

    PLEASE NOTE: There is no sound.