From this blog onwards, everything will be formatted differently to the last 2 rotations, since for most days we were continuing with the same project. Moreover, I have largely forgotten what took place in this rotation, and so this blog will be split into 2 weeks, covering everything that I remember from each week, alongside a paragraph detailing my overall thoughts.
After Making Character, I was looking forward to the Animatics rotation since it was something I saw a lot of on YouTube, and I always wanted to learn how to make my own but never really had the motivation to. At the same time, I felt nervous as this would be the first time I would properly learn about components when creating storyboards such as camera angles and framing, as in my project during foundation I made storyboards for my video-game theme animation that only contained minimal angles and transitions that fit the first-person perspective. Therefore, I knew this would be a challenge but I was determined to make the most out of it and learn as much as I could.
Monday (27/10/25):
At the beginning of the lesson we were introduced to Izzy, who explained the structure of the rotation and how the two weeks would be split.
WEEK 1 (27/10/25-31/10/25):
- Monday: Storyboard lecture + class assignment
- Wednesday: Post-it notes storyboards
- Friday: Premiere Pro 101 Class
END OF THE WEEK: Short storyboard for movie sequence, loose thumbnail style, for given prompt.
WEEK 2 (03/11/25-07/11/25):
- Monday: Animatics WIP Review
- Wednesday: Editing
- Friday: Final review
END OF THE WEEK: Animatic with sound, based on storyboard, exported as quicktime movie file.
We then went through storyboarding, camera angles, framing and staging. I began writing notes to refer to later on, but felt extremely overwhelmed with information, and Izzy was going through the PowerPoint slides far too quickly so I wasn’t able to absorb a lot, and needed to step outside a few times because I couldn’t focus properly. I ended up writing around 8 pages of notes, but it still didn’t feel like enough given the fact I missed a chunk of information.
It was a bit disappointing that we didn’t go through information slowly and with more clarity because I didn’t know a lot about what we were being taught today, and while I could look back through the PowerPoint there wasn’t a lot of written information, therefore it felt like an overload of information that I couldn’t properly process.
One of the page spreads of my notes
Izzy then took us through our assignment brief: create a 20-30 sec animatic based on one of the following prompts:
- A group of bank robbers rushes out with bags of cash, ready for their grand escape—only to discover that their getaway car won’t start! Panic follows as they frantically figure out their next move, with the clock ticking and sirens getting closer.
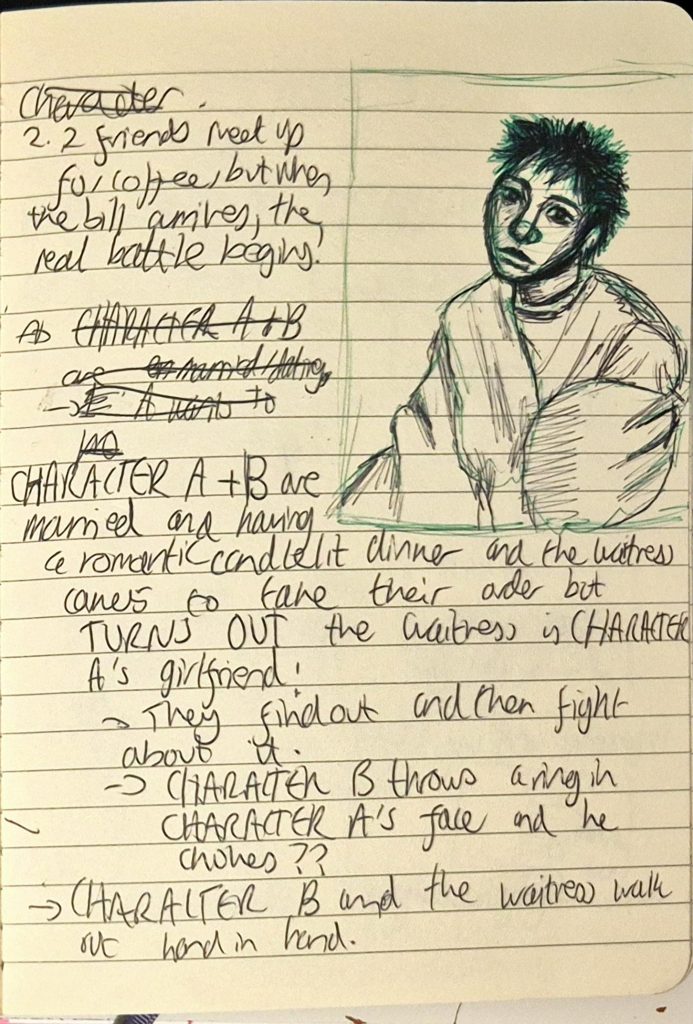
- Two friends meet up for coffee, but when the bill arrives, the real battle begins!
- A flight is delayed, and a couple gets into a heated argument with the airline’s customer service.
- Create your own scenario that involves a change or conflict.
Needed to create a storyboard using sticky notes beforehand. Was a daunting prospect because I didn’t want to waste paper immediately, so I decided to sketch in my notebook then move onto sticky notes.
Wanted to create my own scenario but it took too much of my brain power, especially since I already felt so overstimulated. But I found the 2nd prompt interesting and wanted to add my own twist to it. I ended up with an idea that in a way defies expectations whilst also being quite comedic:
- CHARACTER A + B are married and having a romantic candlelit dinner and the waitress takes their order, but turns out the waitress is CHARACTER A’s girlfriend.
- Some ideas for the animatic:
- They find out and fight about it.
- CHARACTER B throws a ring in CHARACTER A’s face and he chokes? OR CHARACTER A is thrown out of the window. The waitress sits down and she and CHARACTER B talk.
- CHARACTER B and the waitress walk out hand in hand.
- Use the dinner scene from the movie __ as inspiration for framing.
My main goals for the animatic were to show CHARACTER A as an egotistical cheater, CHARACTER B as a more meek character overshadowed by her husband/partner, and the waitress as a more headstrong character (thus differentiating CHARACTER B and the waitress).
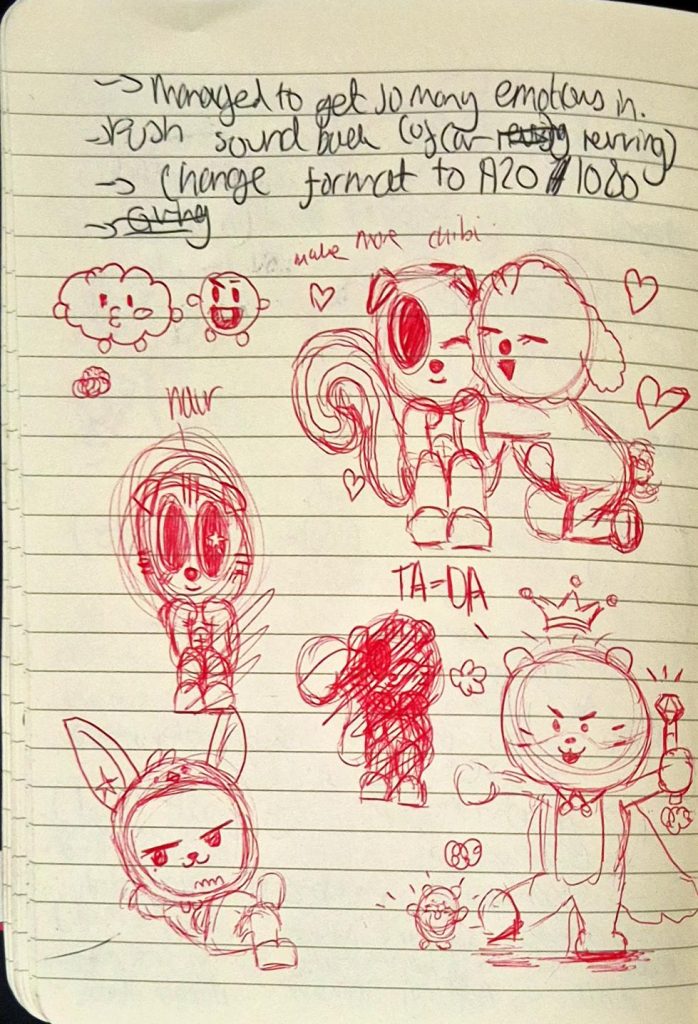
My notes
I told Izzy my idea and she seemed to like the premise, so I decided to pursue it. I then tried making a storyboard but had issues with framing, so I ended up leaving it for later.
Wednesday (29/10/25):
I don’t remember much of what happened on this day, but I do remember beginning to draw thumbnail sketches of ideas in my sketchbook. It honestly took a while to ponder since I still wasn’t confident with shot composition and framing, and for overall inspiration I mostly thought of random idea rather than using specific films or animatics, instead going on Pinterest and researching references to help execute them.
Early on in the lesson Marcelina gave me super helpful feedback, which included finding a way to differentiate CHARACTER B and the waitress (visually and personality wise). She also suggested that the animatic’s plot should be represented like an arc:
- Beginning: CHARACTER A + B’s first anniversary at a restaurant having dinner and flirting
- Midpoint: Waitress takes their order, she and CHARACTER B finding out CHARACTER A was two timing both of them
- Ending: CHARACTER A being slapped and thrown out, and CHARACTER B and the waitress celebrating.
From the feedback I was given, I drew the female characters to help differentiate them from each other visually, as you can see below. At the time, I hadn’t decided what CHARACTER A would look like, but I had the funny idea of his artstyle beginning to “decompose” as he gets more and more frazzled and panicked (from semi-realism and beautiful to cartoony and ugly, in a way revealing his true self).
(Sketches of CHARACTER B’s and the waitress’ designs. CHARACTER B is the sketch on the top right while the waitress was either the sketch on the top left or the bottom. Ended up choosing the bottom as the waitress’ final design.)
I also changed the relationship status between CHARACTER A and B to be partners who are celebrating their 1st year anniversary (it’s a miracle CHARACTER B was with CHARACTER A for so long with that attitude of his), while CHARACTER A and the waitress are the married couple. I implemented this change because I believed it would be much more impactful if the waitress was CHARACTER A’s wife instead of girlfriend and vice versa for CHARACTER B, especially since the waitress is introduced last.
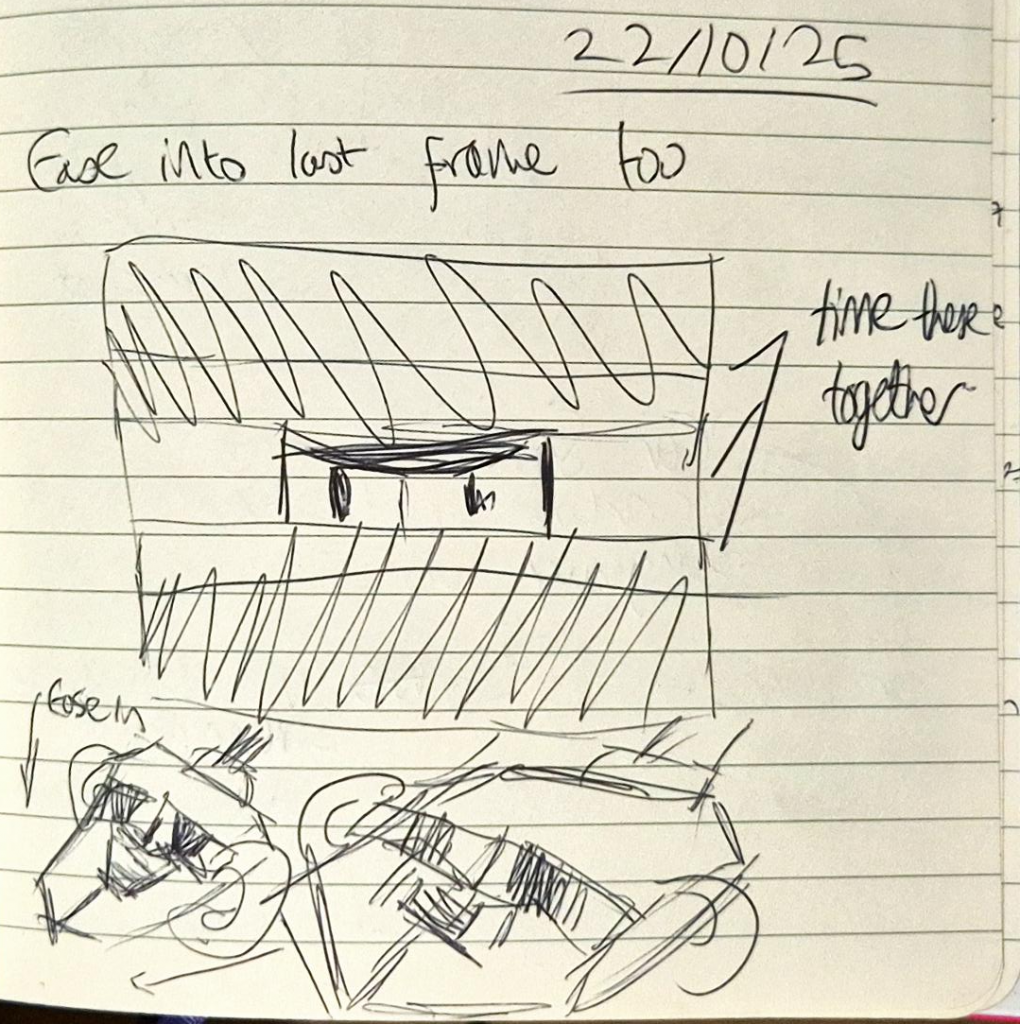
I continued drawing thumbnail sketches of my storyboard in my notebook for the rest of the lesson. The drafts I created got slightly difficult to discern, so I had to try and organise them (albeit to no avail as it still looked very messy). I didn’t have the time to finish the sketches during the lesson, so I finished them at home.
My thumbnail storyboard in my notebook
I subsequently put them together on CapCut to check the timing, but realised it was over 30 seconds (1m 30s?!). Despite this, I felt it would be difficult to reduce it without removing key parts of the plot, therefore the duration remained the same. I then added extremely unserious sound effects impromptu using foley (e.g. clapping my hands together to achieve a crispy SLAP! effect), and used my own voice to record interactions for each of the characters. I mostly improvised, not sticking to the unfinished script I wrote for myself and instead going by instinct and what felt right in the moment. I was highly inspired by various cliched fanfictions I would read on Archive of our Own or Wattpad, as the premise for my story is a trope that is often seen in fanfiction.
PLEASE NOTE: Increasing the volume is advised for a better (?) viewing experience.
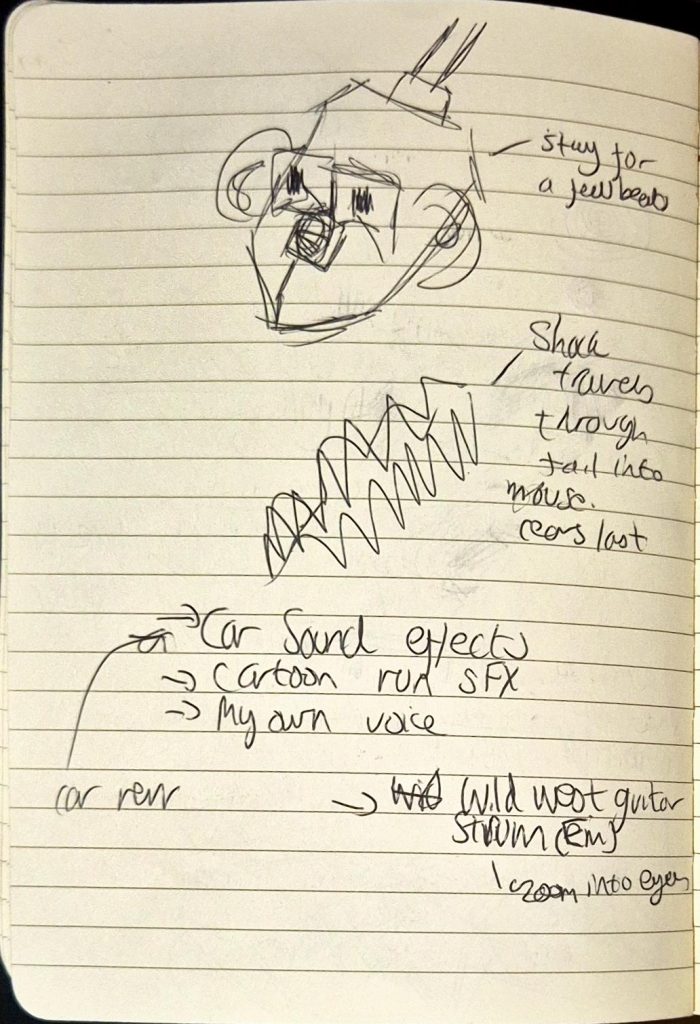
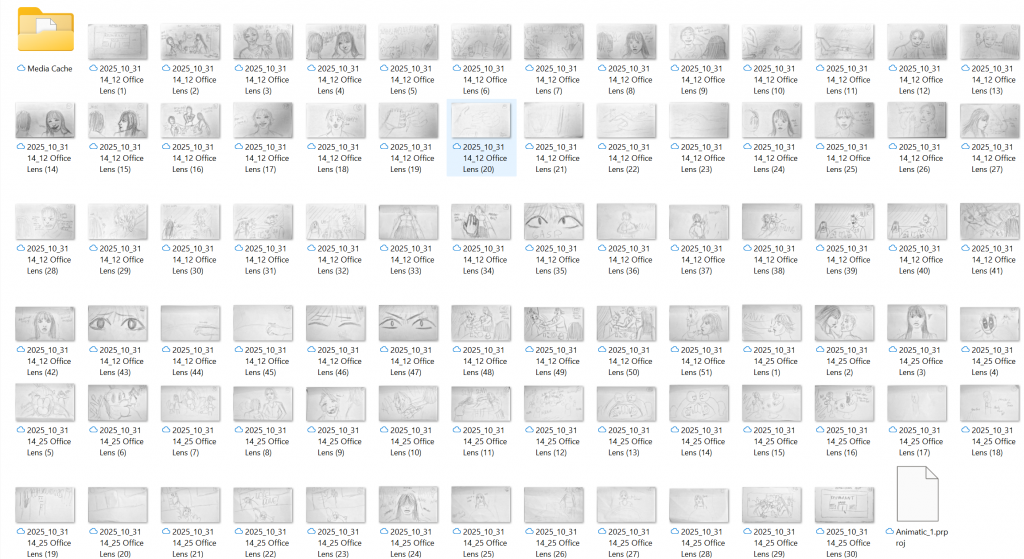
On Thursday, I took photos of myself to use as reference (for anatomical accuracy), and using this alongside the thumbnail sketches and character designs of CHARACTER B and the waitress, I redrew everything on sticky notes. I used a lightbox to trace over some frames and keep the composition constant, and designed CHARACTER A so that he looked like the stereotypical douchebag anime character (his appearance depreciating as the animatic progresses). This took the entire day and carried on until almost 1AM, as I also had to take photos of my work (took around 90 photos).
Some of the frames from my storyboard
Friday (31/10/25):
On this day Marcelina taught us how to use Premiere Pro, a software that I have never used before. I was perfectly content with using CapCut up until this point since it could be accessed on my phone and I didn’t need a subscription for it (additionally I didn’t want to download/buy Premiere Pro just for this rotation and never use it again). However, this lesson was extremely useful and the software is so much easier to navigate than Photoshop was during Making Character. I did have to transfer all my frames and the sound effects from the test animatic (I ended up keeping the same sound effects because they added to the unseriousness that I intended to show) onto Onedrive and then onto Premiere Pro which took a while, but once I did I merely imported the frames and timed them so that everything coincided with the test animatic.
A screenshot of my files compiled in a folder
Overall, by the end of this week I felt very confident in my animatic (if anything I was too confident), and didn’t feel like reducing the animatic to 30 seconds to fit the brief despite having the time to do so. This will be something I’d eventually realise and regret once it becomes too late.
PLEASE NOTE: Increasing the volume is advised for a better viewing experience.